How to Draw Hair That Doesn't Look Like a Helmet
How to Draw Hair (That Doesn't Look Like a Helmet)
You know the feeling. You finish a portrait, the face looks great, and then you get to the hair. You start adding strands, then more strands, then highlights, then shadows - and voila, the whole thing ends up looking like a shiny plastic helmet sitting on top of your character's head.
It's simply because you're thinking about hair the wrong way.
Hair isn't made of individual strands. Hair isn't a flat shape you fill in and shade.
Hair is a three-dimensional mass that catches light on its planes, and flows in groups. Once you start thinking about it that way, everything changes.
Here's how to actually draw hair.
1. Start with volumes
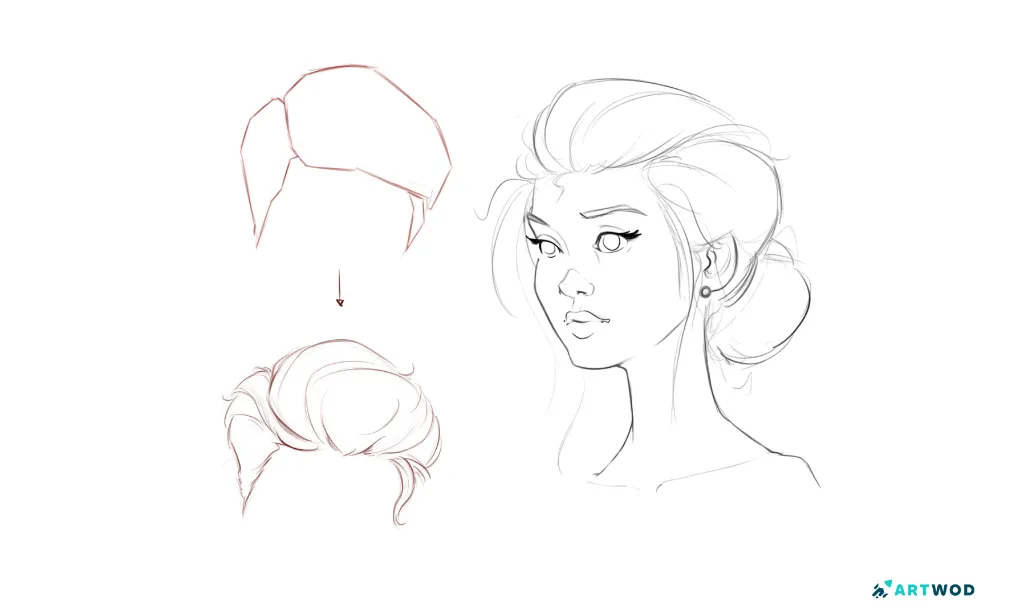
Before you draw a single strand, establish the overall volume of the hair. Think of it as a shape sitting on top of the head - a mass with a clear silhouette, a top plane, and side planes. As yourself: Where does it sit highest? Where does it hug the skull? Where does it fall away from the head?
This volume is the foundation everything else builds on. If you skip it and go straight to detail, you'll end up with hair that has no underlying logic - which is how you get the helmet. The helmet happens when the hair reads as a single flat layer on top of the head rather than a three-dimensional mass with real volume.
So start big. Block in the overall shape. Figure out how the mass sits in space before you think about anything smaller.
Example of how to draw hair, starting with volume first. 2 steps. Digital 2d art
2. Break it into shapes - big, medium, small
Once you have the overall volume, start dividing it into smaller shapes. Not strands - shapes. Big chunks first, then medium, then small details on top.
Think of it like a hierarchy. The big shapes are the major sections of hair - the top, the sides, the parts that fall forward or backward. The medium shapes are the groups within those sections - where the hair separates into distinct clumps or flows. The small shapes are the individual details, the fly-aways, the texture, the subtle separations within each group.
Work through all three levels in order. Big shapes first - always. If you jump straight to small details without establishing the big and medium shapes, the hair will look chaotic and confusing. The viewer's eye needs the big shapes to read the overall form before it can appreciate the detail.
This hierarchy is also what creates depth. Big shapes recede or advance. Medium shapes sit within them. Small details live on the surface. When all three levels are working together, hair suddenly has real dimension. Try the workout below - download the image and draw volumes on top of the baldies.
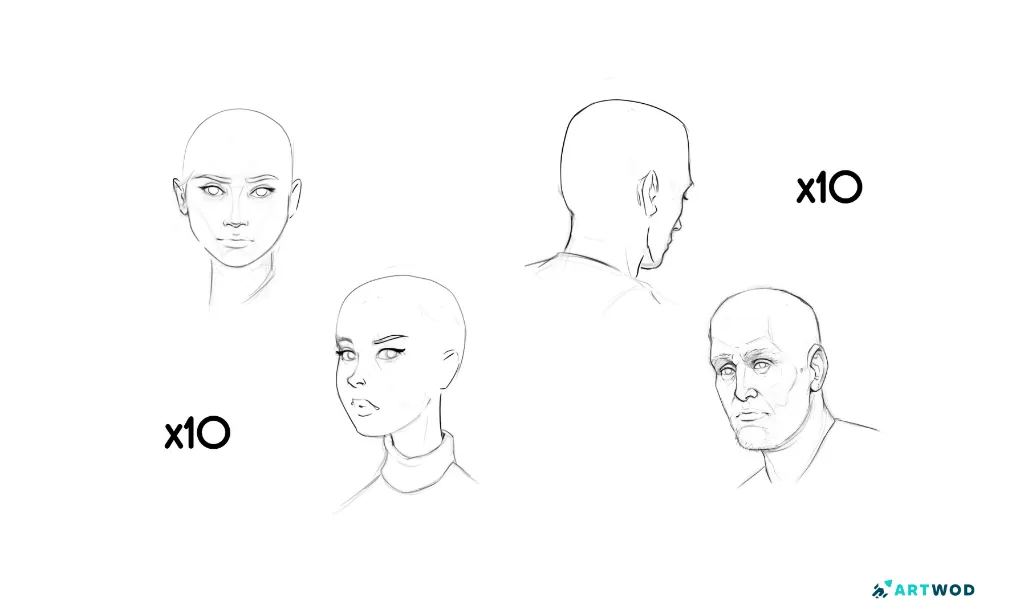
Art workout for hair
3. Think in ribbons wrapping around the form
Hair doesn't just hang - it wraps. It follows the three-dimensional form of the head underneath it, and individual sections of hair behave like ribbons curving around that form.
Imagine each section of hair as a flat ribbon. That ribbon has a top plane that catches the light and a bottom plane that falls into shadow. It curves, it twists, it overlaps other ribbons. The way it turns tells you about the form underneath it.
When you draw hair this way - as ribbons wrapping around a three-dimensional volume - two things happen. First, the hair starts to feel like it has real weight and movement. Second, the light and shadow start to make sense, because each ribbon has clear planes that respond to the light source in a logical way.
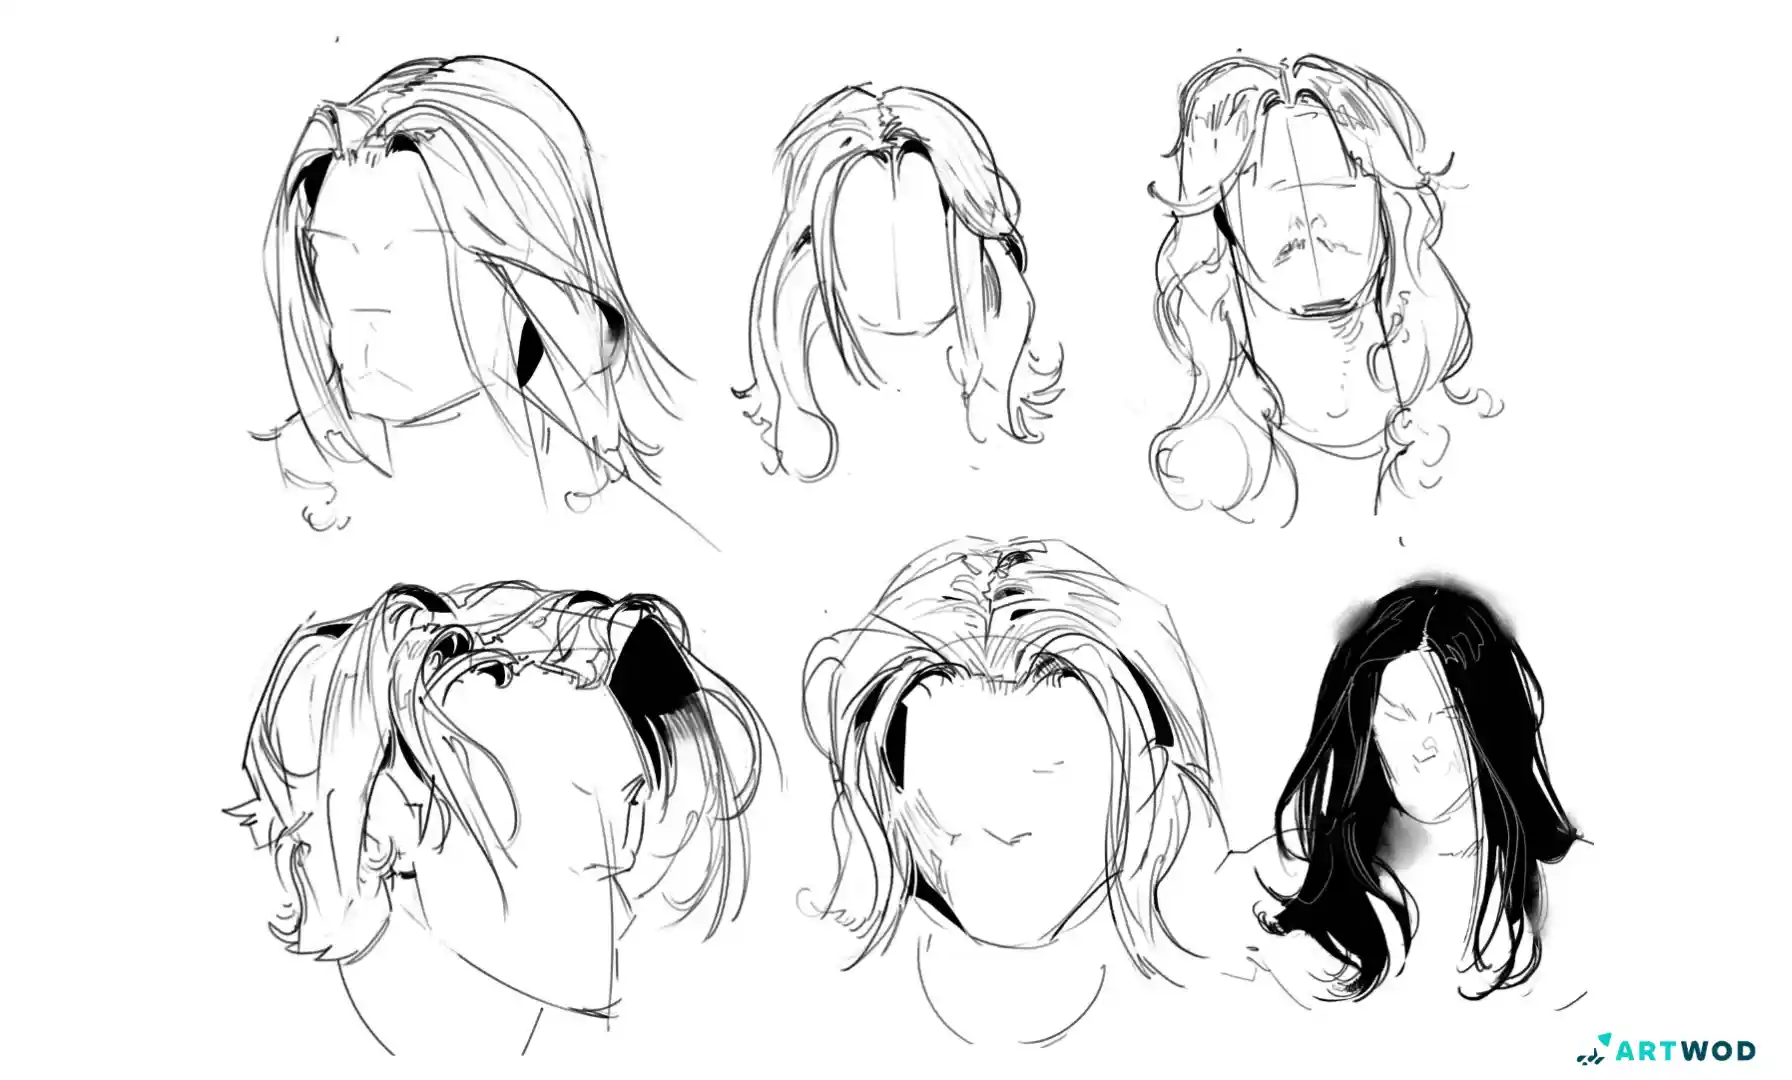
The overlaps that used to confuse you become your best tool. Where one ribbon overlaps another, you get a natural shadow underneath - ambient occlusion separating the forms. Those overlaps are what create depth and movement. Lean into them. Read more about overlapping and using T-lines here.
Hair sketches by Antonio Stappaerts, digital 2d art, step-by-step tutorial
4. Now add the detail
Once the volumes are solid, the shapes are established, and the ribbons are wrapping convincingly around the form, you can add surface detail. Texture, individual strands at the edges, fly-aways, shine.
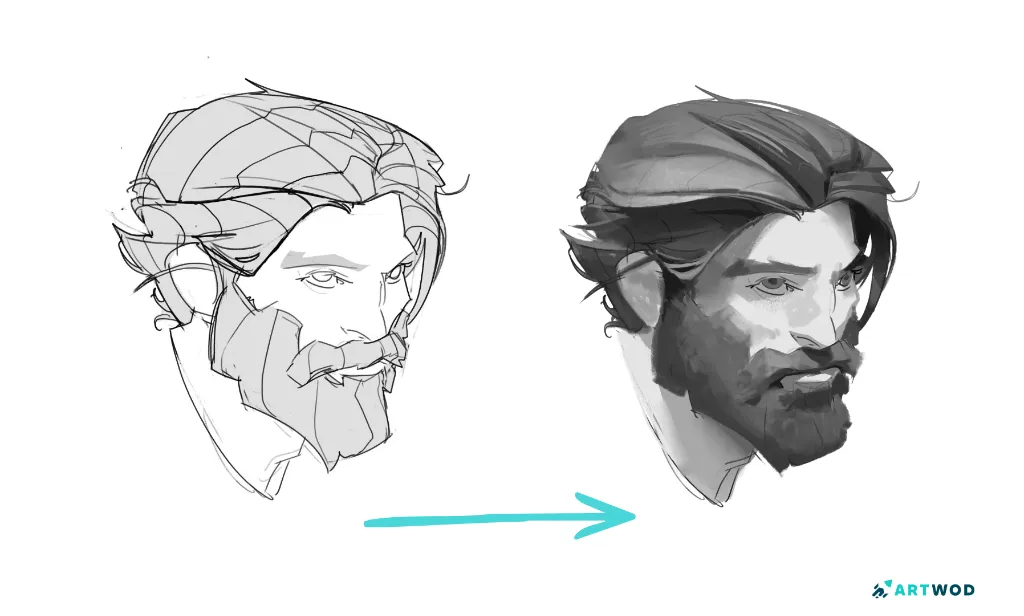
Notice that this is the last step, not the first. Most artists start here and wonder why the hair looks wrong. The detail is just confirming what the underlying structure already decided. If the structure is right, a little surface detail goes a long way. If the structure is wrong, no amount of detail will fix it.
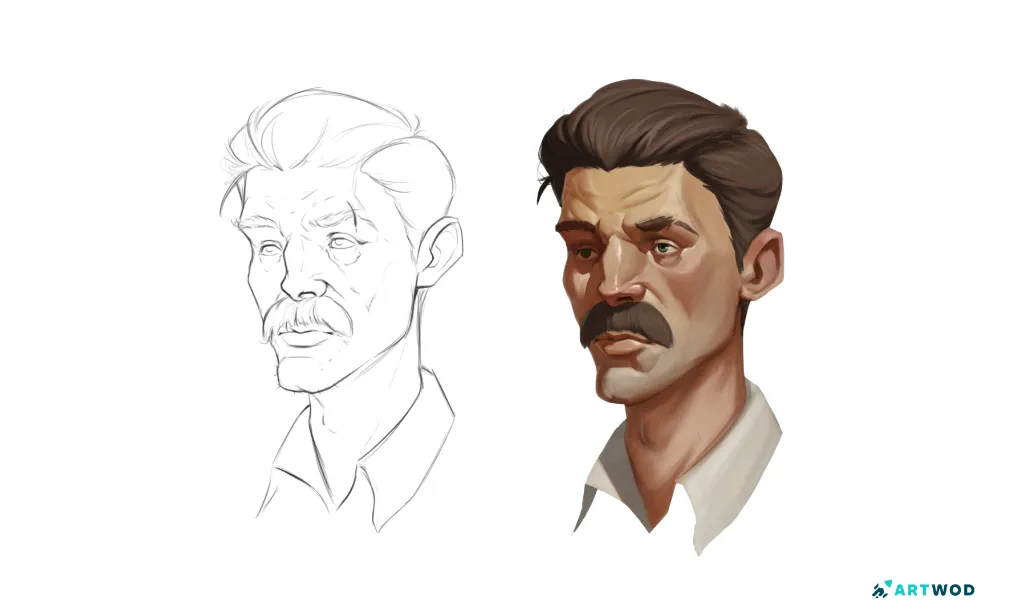
From sketch to final render, digital 2d art, portrait art by Antonio Stappaerts
Keep your highlights following the form of the ribbons - a highlight sits on the top plane of each major section, not scattered randomly across the hair. Keep your darkest shadows in the overlaps between ribbons. And keep your edges varied - sharp where ribbons overlap, softer where they blend into each other or catch diffused light.
If you want structured guidance on taking this further, Artwod's portrait roadmap covers hair as part of a full approach to portrait drawing, all of it in a sequence that builds properly from the ground up.
Related Posts